How to Blur Face in Hypic Photo Editor AI?
You worry about privacy. You want clean, stylish edits without turning a simple photo into a chore. In this guide, you’ll learn exactly How to Blur Face in Hypic with speed, precision, and a pro finish. I’ll also show advanced workflows, best practices, and a practical comparison between the official Hypic APK and “Hypic Mod APK” so you can choose wisely.
How to Blur Face in Hypic and what are the features of Hypic’s face blurring?
Hypic blends AI detection with manual control. That lets you anonymize a face, reduce distractions, and keep the subject safe on social media. You can blur with one tap, or you can sculpt the effect with masks, brushes, and layering for studio-level results.
1. Blur Background
- AI detection: Hypic identifies people and edges. You select the person to keep sharp.
- Depth feel: You simulate bokeh by increasing blur on the background while keeping the face or subject crisp.
- Edge refinement: You adjust feather, intensity, and edge sensitivity to avoid halos.
2. Object Removal
- Spot fix: You remove small elements (logos, plates, bystanders) before or after blur.
- Guided inpainting: You paint over unwanted regions; Hypic fills with similar context.
- Privacy boost: You combine object removal with face blur for stronger anonymization.
3. Masking Tool
- Manual control: You brush directly on the face area for surgical precision.
- Feather and opacity: You soften mask borders and blend blur naturally into the scene.
- Invert and refine: You invert the mask to blur everything except a face, or intersect masks for complex composites.
Why you have to choose Hypic over other apps for face blurring?
1. AI-Powered Precision
- Smart segmentation: Hypic recognizes faces and contours, so you spend less time cleaning edges.
- Context-aware blur: You keep details that matter and hide the rest without smearing. plus, if you are professional
2. User-friendly Interface
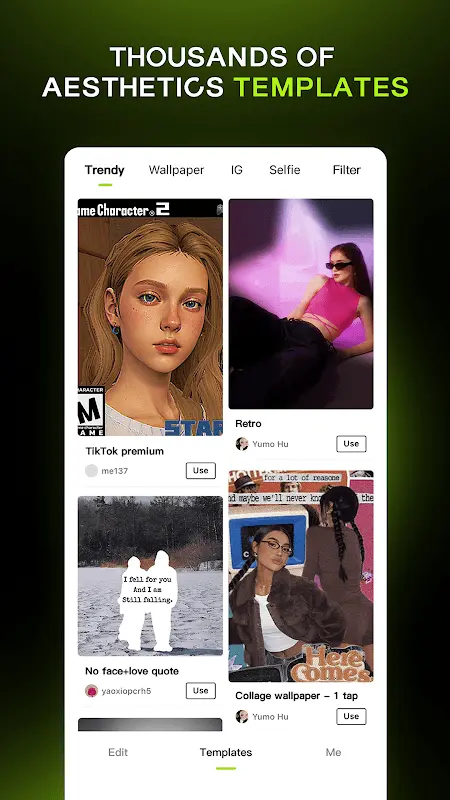
- Clean layout: You find key tools in a tap or two.
- Real-time previews: You see changes instantly and tweak without bouncing between menus.
3. Multiple Export Options
- Quality control: You pick resolution, format, and compression.
- Platform-ready: You export presets for Instagram, TikTok, and high-res archives.
4. Affordability
- Core tools free: You get reliable blur, masking, and adjustments at no cost.
- Upgrade only if needed: You subscribe when you want premium filters, batch tools, or watermark-free exports.
Practical use cases for face blurring
- Social sharing: You protect kids, bystanders, or coworkers before posting.
- Client work: You anonymize case studies, events, and BTS shots while keeping a polished aesthetic.
- UGC and reviews: You hide identities in testimonials without losing credibility.
- Street and travel: You respect privacy laws and norms in crowded places.
- Educational content: You teach with real-world images while shielding identities.
How to download Hypic Mod APK Easily in your Devices?
I get the appeal of “unlocked” features, but let’s keep it real. Modded APKs can break app integrity, violate terms, or expose your device to malware. I recommend the official Hypic APK via Google Play or the App Store. If you still plan to explore a mod, proceed at your own risk.
- Safer path:
- Official source: Install from Google Play or the App Store.
- Updates: You receive security patches and new features promptly.
- Support: You get bug fixes and reliable performance.
- If you still choose a Mod APK (caution):
- Verify integrity: Check file hash and scan with trusted mobile security.
- Use a secondary device: Avoid installing on your primary phone.
- Disable after install: Turn off “Install unknown apps” to reduce exposure.
- Back up first: Keep your photos and settings safe.
Comparison of Hypic APK vs Hypic Mod APK (features and experience)
| Aspect | Hypic APK (official) | Hypic Mod APK (unofficial) |
| Access | App stores with verified publisher | Third-party sites of unknown trust |
| Updates | Automatic, secure, frequent | Infrequent, manual, uncertain |
| Security | Scanned and vetted | Risk of malware or tampering |
| Reliability | Stable with support | May crash or break features |
| Monetization | Free + optional premium | Claims “unlocked” features, uncertain legality |
Sources: This table reflects general differences between official and modified Android packages, not endorsements or links. Also, if you are using older devices then, you must have to use older version for better performance especially at that time when you notice that new version is not working properly fine.
Comparison of Pricing, export, and compliance
| Category | Hypic APK (official) | Hypic Mod APK (unofficial) |
| Cost | Free core features; optional subscription | Free claims; potential hidden risks |
| Export quality | Consistent; watermark rules clear | May bypass limits but risk instability |
| Legal/ToS | Compliant with platform terms | Likely violates terms; account risk |
| Data protection | Store policies apply | Unknown handling of data |
| Long-term viability | Sustainable and supported | Unpredictable, may stop working |
Sources: General best practices and common platform policies; choose the official app for safety and compliance.
What are the Steps to blur a face in Hypic Apk?
You’ll learn fast. Follow this short workflow and adapt it to your style.
Open your photo
- Import: Launch Hypic and load your image.
- Duplicate layer: Create a copy so you can compare before/after quickly.
Detect and blur the face
- Auto face select: Tap the face detection option if available.
- Choose blur type: Pick Gaussian, mosaic, or lens blur depending on the look you want.
- Adjust intensity: Increase until details disappear, then dial back for natural edges.
Refine with masks
- Brush clean-up: Paint back sharpness on eyes or hairlines if needed.
- Feather edges: Use soft borders for a seamless blend.
- Zoom and check: Inspect edges at 200% to catch halos or missed areas.
1. Manual Adjustment of Blur Areas
- Custom mask: Paint the exact shape of the face when auto detect misses on your iOS device or mobole devices.
- Edge polish: Use a small, soft brush around ears, jawlines, and hair.
- Opacity finesse: Lower opacity near borders to avoid a sticker look.
2. Combining Blur with other Effects
- Desaturate background: Reduce color behind the subject to increase focus.
- Add vignette: Draw the eye toward the center while the blur hides identity.
- Selective sharpen: Sharpen the main subject when the background already blurs.
3. Layered Editing
- Separate layers: Keep blur, color grading, and retouching on different layers.
- Blend modes: Experiment with overlay or soft light after blur for mood.
- Annotations: Add subtle stickers or shapes to reinforce privacy without over-blurring.
What are the Best Practices for using face blurring Feature?
Keep it natural and intentional. You want privacy without distraction.
1. Maintain Natural Balance
- Match depth: Blur should mirror lens depth, not a fog wall.
- Protect edges: Keep clean transitions around the face.
- Avoid overkill: Strong blur attracts attention; subtle blur blends in.
2. Focus on the Purpose
- Privacy first: Blur enough to prevent recognition.
- Aesthetic second: Tune color and exposure after privacy work.
- Context-aware: Increase blur for minors, sensitive settings, or ID badges.
3. Preview and Adjust
- Zoom levels: Check at 100%, 50%, and fit-to-screen.
- Background scan: Ensure no reflective surfaces reveal faces.
- Compare versions: Toggle the original layer to spot missed spots.
4. Use High-Resolution Photos
- Start big: Import the highest resolution available.
- Export smart: Use platform presets for Instagram, TikTok, or print.
- Avoid heavy cropping: Crops amplify artifacts and softening.
Troubleshooting common issues of Hypic Mod Apk
Problem: Automatic detection misses a face
- Solution: Switch to manual masking, increase detection sensitivity if available, and refine with a soft brush.
- Tip: Boost contrast temporarily to help you see edges, then revert.
Problem: Image looks pixelated after editing
- Solution: Reduce blur intensity, switch to Gaussian instead of mosaic, and re-export at higher resolution.
- Tip: Avoid repeated saves with high compression.
Problem: Difficulty sharing edited photos
- Solution: Export to JPEG at medium-high quality, check app permissions, and try platform-specific export presets.
- Tip: If a platform compresses heavily, upload via web for better quality.
Step-by-Step Guide for Advanced Editing in Hypic Apk
You want pro-grade control. Use these layered techniques when a quick blur doesn’t cut it.
1. Layering Multiple Edits
- Base corrections: Fix exposure and white balance first.
- Primary mask: Create a mask for the face and apply a medium Gaussian blur.
- Secondary mask: Add a wider, softer mask around hair and ears to blend.
- Fine detail: Use a tiny brush to recover eyelashes or hair wisps where needed.
- Color grade on top: Apply subtle LUTs or curves above the blur layers.
2. Combining Blurring with Highlight Effects
- Subject glow: Add a soft light layer to brighten the subject slightly.
- Gradient vignette: Use a radial gradient to darken edges, increasing focus without harsh lines.
- Texture control: Apply a gentle noise layer to avoid sterile, plastic blur.
3. Using Gradient Blurs
- Directional depth: Drag a linear gradient blur from background toward the subject to simulate real lens falloff.
- Radial focus: Create a center-focused blur around the subject’s torso, then mask the face as needed.
- Multi-zone depth: Stack two gradients at different strengths for foreground and background realism.
Tips for the professional looking Edits
- Stick to subtlety: Use the lightest blur that still protects identity. Heavy blur screams “redaction.”
- Consistency is key: Match blur strength across a series so your set looks cohesive.
- Test on different screens: Check on phone, tablet, and desktop to ensure no details slip through.
- Experiment with lighting and shadows: Adjust highlights and shadows to preserve depth even after blur.
Conclusion
You now know How to Blur Face in Hypic with intent, technique, and confidence. Use AI to move fast, then refine with masks and layers. Keep your edits natural, protect privacy, and export smart. If you consider a Mod APK, weigh risks and choose safety first. Your images—and your audience’s trust—matter.

